- Details
- Category: Kit Builds
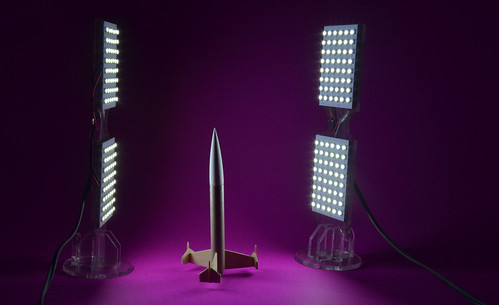
I've always loved MicroMaxx rockets - tiny and very unusual. Jim Flis of Fliskits has developed some amazing kits, including this, the Teeny Triskelion!
- Details
- Category: Kit Builds
The Semroc Red-Eye was one of the last kits released by Semroc prior to the passing of Carl McLawhorn and I built this just after hearing the news.
The Red-Eye is part of Semroc's Retro-Repro range, originally being released by Centuri between 1981 and 1983.
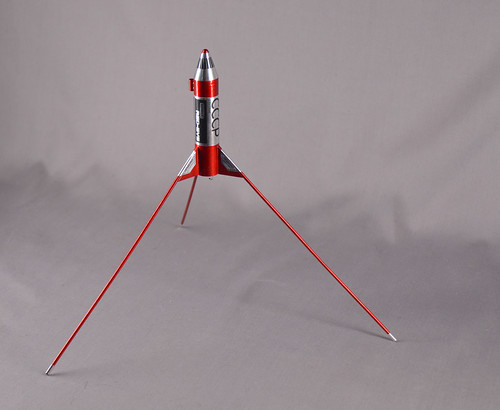
The Red-Eye flies on a 13mm motor and employes streamer recovery for the motor and tumble recovery for the rest of the airframe.
- Details
- Category: Kit Builds
I like small rockets, so building the Fliskits Tumble Weed looked like a lot of fun!
The build is fairly straight-forward with only a handful of parts needed.
Continued after the jump...
- Details
- Category: Kit Builds
Towards the end of 2012, I signed up for the Secret Santa on the Rocketry Forum. During the course of the event, names were swapped and everyone posted off a gift to someone else.
My secret santa arranged for one of Art Applewhite's 10" Clustered flying saucers to be delivered under my tree!
A little while ago I started work on the saucer. The kit comprised of a sheet of foam-core board, some bright green paper and a good selection of tubes. The build was straight-forward and the bulk of the build was completed in a couple of evenings. I didn't document the build.
Here's the final result -
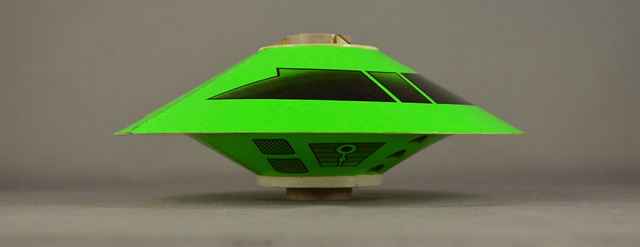
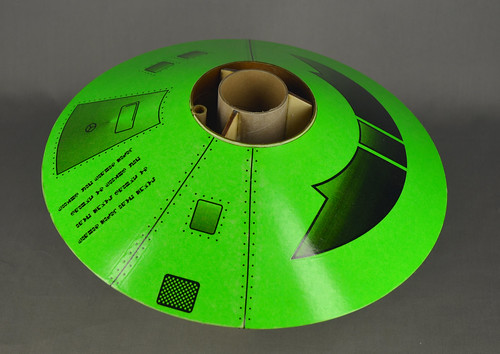
I created custom decals for both the top and bottom of the saucer
- Details
- Category: Kit Builds
This is my 2nd kit from Bill Carpenter at 3D Rocketry. I first built Bill's Nautilus III which was a great build and a pleasure to fly.
The kit comprises of :
- 3" x 17" Airframe
- 11" Ogive Nose Cone (pre-weighted)
- 7" x 29mm Motor mount
- 3 x 3/16" TTW Birch Fins
- 6 x 3.16" Balsa Trim
- 2 x 3/16" Birch Centering Rings
- 3" x 1/4" Launch Lug
- Instruction Manual
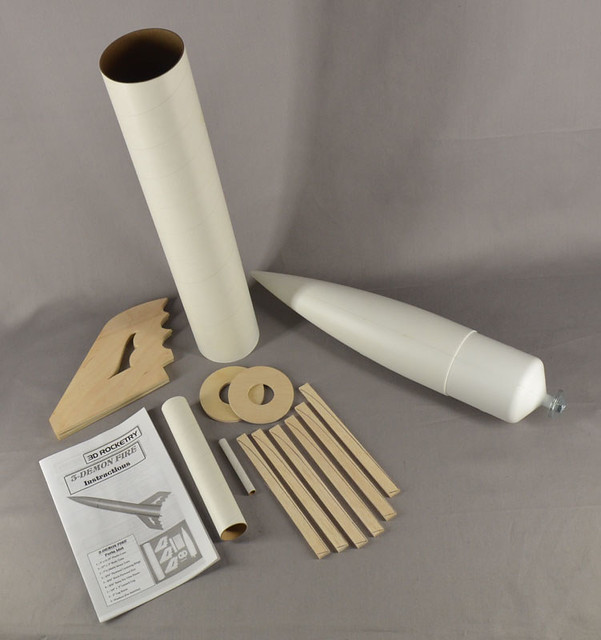
This was a good fun build - very straight-forward. There's a few additional parts that you'll need to add, like a parachute and shock cord. I added an eye screw as an attachment point for the shock cord and I utilised rail buttons instead of the 1/4" launch lug. I also used an Estes 29mm engine retainer
- Details
- Category: Kit Builds
Back in November Bill from 3D Rocketry announced his new kit, the Nautilus III
I thought it looked like a super rocket so I contacted Bill and he was happy to post one off to Australia and it arrived within a couple of weeks.


First impressions is that this is a good solid kit. The 54mm body tube is solid and has a very tough nose cone. The centering rings are 4mm ply and the fins are 3mm ply. The instructions are straight forward and even describes how to do internal fillets - something that you'll want to do as externally, there's some strips of basswood that go between the body tube and the fins.
I used an Estes 29mm motor retainer (for the price, these are great value). I swapped out the supplied launch lug for rail buttons and attached the shock cord to the forward centering ring with a screw-eye.
The kit as it comes is designed to fly on a range of F's but with the quality of the parts supplied, there should be no reason why it won't perform just as well on G's (I'm looking forward to seeing it go up on a G64!!)
As for finishing the Nautilus III, I thought what a rocket would look like if Capt. Nemo had a rocket and looking at the Nautilus submarine, it seemed like it would be metal that was a bit old and rusted. I took some time, read through a bunch of tutorials and had a go at airbrushing the metal & rust effect. I'm happy with the end result :)
I had a lot of fun building this kit. View the full build thread on The Rocketry Forum and the photos on Flickr.
- Details
- Category: Kit Builds
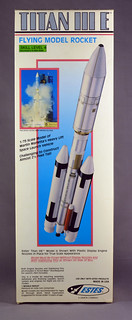
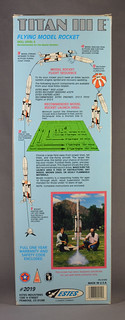
The Estes Titan III E Model rocket kit, produced between 1989 and 1993 is one of the older kits in my collection. I do intend on building and flying it eventually :)


- Details
- Category: Kit Builds
I really love the Estes Big Daddy. It's a great kit - looks good and flys well on D and E size motors. My last Big Daddy had a number of flights on the Aerotech E18 reload & looked fantastic with it's big white flame. It's part of my regular fleet, despite suffering a CATO when the rear closure of the motor blew out.
At Christmas time, I picked up another Big Daddy kit on Ebay with the aim of converting it to fly on 29mm motors - the H128 specifically!
The kit sat, taunting me for months but I've now completed my upgrade!! This is the Really Big Daddy!
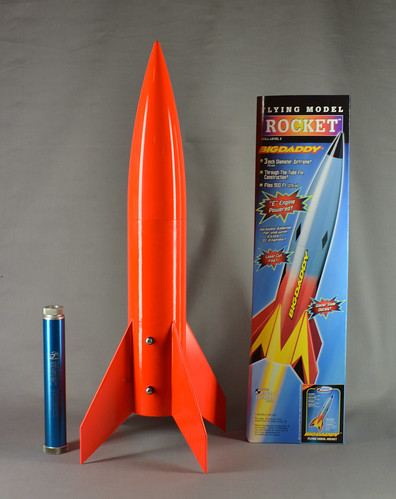
I started by re-cutting the centering rings and fins in 3mm plywood - the fins are very slightly larger than original. The launch lug has been swapped for rail buttons and I have also added 120g of lead shot in the tip of the nose cone.
Rocksim predicts that this will fly to around 2800' on a H128 or about 2000' on a G64. I'm looking forward to launching this!
- Details
- Category: Kit Builds
 I've been building a few kits of late, the first one is The Launch Pad's Hellfire AGM-114A.
The Launch Pad kits have been described before as a kit for scratch-builders and that's a pretty fair description.
I bought this kit along with three other Launch Pad kits a couple of years ago but put them aside and have only just got back to building them.
The kit includes the usual assortment of parts - motor mount, 2.6" body tube, centring rings etc. The fins aren't pre-cut; you get a template and a sheet of balsa. Unfortunately, the balsa isn't quite big enough to fit the fins :( I ended up re-drafting the fins in CorelDRAW and laser cut them from 1.5mm ply.
I airbrushed the rocket with matt olive green and created a stencil for the lettering and yellow squares. To paint the nosecone, I mounted it in the chuck of my lathe and turned it by hand. Once finished, the Hellfire stands almost 2" tall and is designed to fly on 24mm motors. (Click image to Embiggen)
- Details
- Category: Kit Builds
A recent post by Dick Stafford of The Original Rocket Dungeon put me onto a kit created by Steve Neill of Hostile Projects.
Steve is a Born-Again Rocketeer who has spent 30 years creating special effects for the movie industry (he created the ears for Spock in Star Trek the Motion Picture!). He returned to rocketry in 2009.
After reading through his site and seeing the work that he had done, I figure that these kits were going to be something special. I checked my bank balance & sent Steve an email - how much to ship a kit to Australia?
I processed a paypal payment straight after I got his response :)
The V23 kit - his first on offer - turned up about 10 days later. I wasn't disappointed! This is a great looking kit. I've snapped a few photos straight out of the box:

(click to view on Flickr)
Page 1 of 2

